


Results 1 to 10 of 21
-
01-18-2007, 01:39 PM#1


 OPJunior Member
My First Ever DIY Grow Box
So here I am. Finally, after more than a month of planning, searching, buying, building, spending over US$200, with all the joy and frustration that came along with it, I finally built a grow box of my own!!! This was no easy task, since I built everything from scratch excluding the lights, ballasts, and fans. But everything else I basically painstakingly siliconed/screwed/hammered/sawed together. But I must say, the joy of looking at the finished product is just euphoric. Knowing that you built it from scratch, makes it feel all the more victorious. But anyways, here are the details of my new grow box. I have numbered them from 1 to 18 which tallies with the pictures. (I would like to apologize for the bad photography, I was just too lazy to take good pictures with a good camera, so bear with me!)
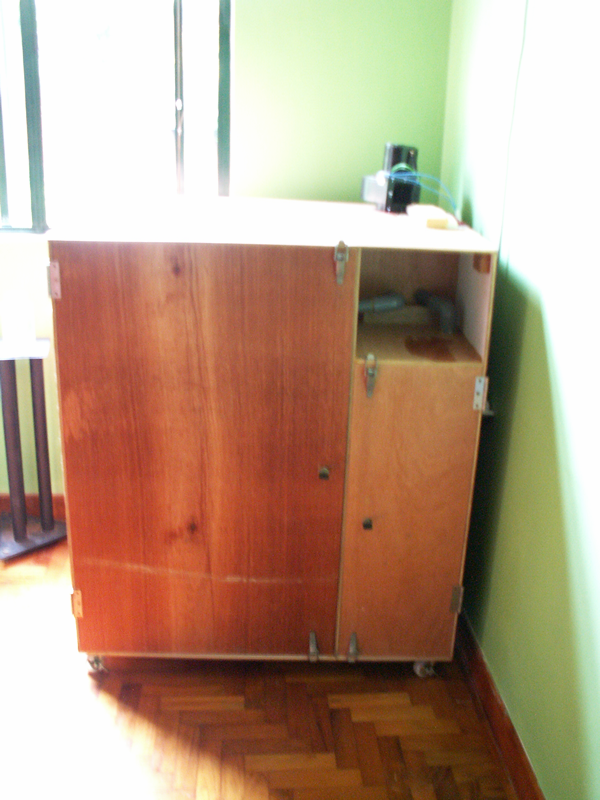
Front view of my grow box. Entire measurements are L 37" xB 29" x H 41". On the left(bigger section) is the flowering chamber which measures L 25" x B 29" x H 41". On the bottom right is the veg chamber which measures L 12" x B 29" x H 31". On the top right is a small compartment where I can keep anything from sprays to fertz. See those pipes in there? We'll get to that later.
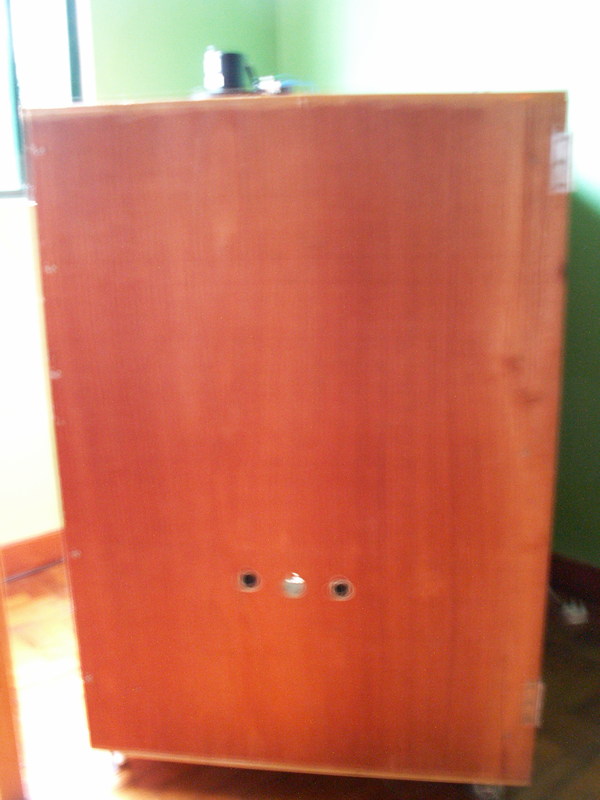
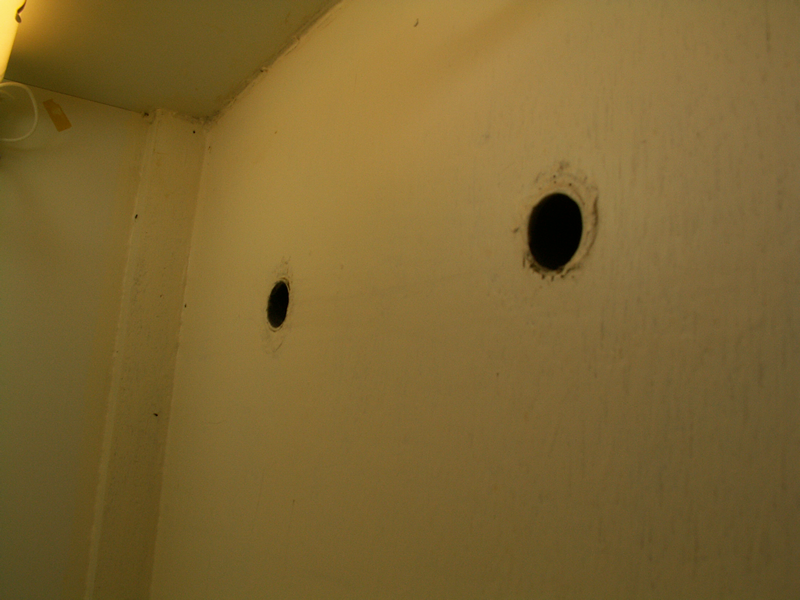
This is a very bad picture of the left side (adjacent to front of flowering chamber door) of the box. See those 3 little holes? Those are my passive intake holes for my flower chamber which is connected to a pipe, once the exhaust fan is turned on, you can place a piece of paper on the hole(s) and it'll stick to the hole. That's pretty much one reason why I think the circulation is good enough.
Another bad picture!!! Lol. This is the right side now. Again 3 passive intake holes for the veg chamber, paper thing works too.
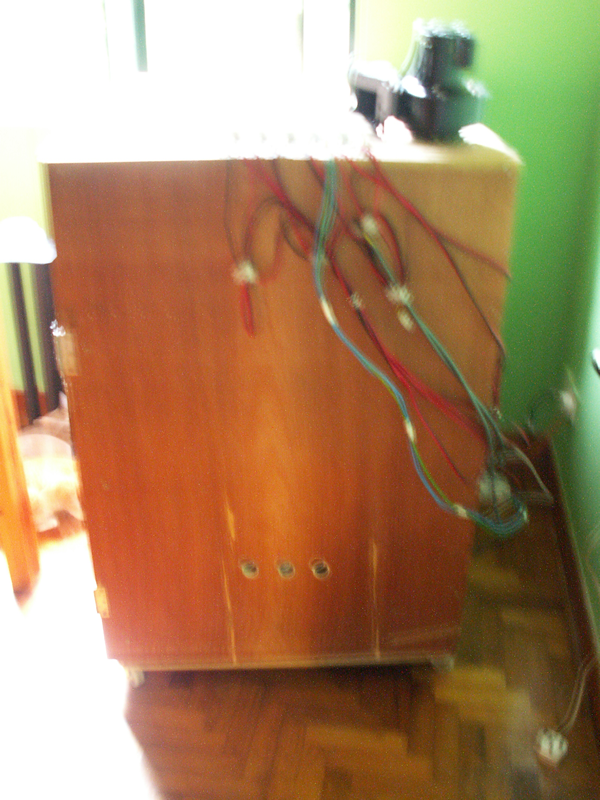
This is the back of the box, just showing you guys the wiring...I'm not quite sure why though...Hmm...Haha, anyway, on the top right you can see my fingers, which means...ANOTHER BAD PHOTO!!!
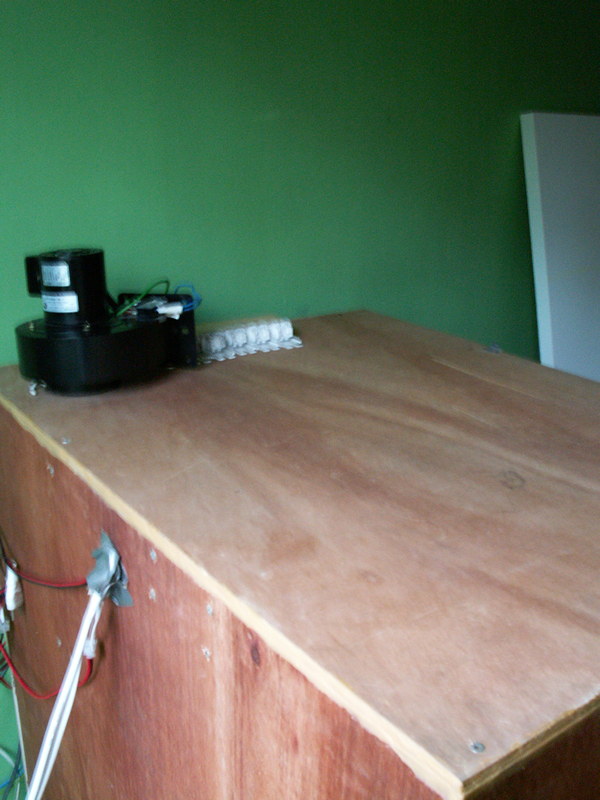
This is the top view of the box.

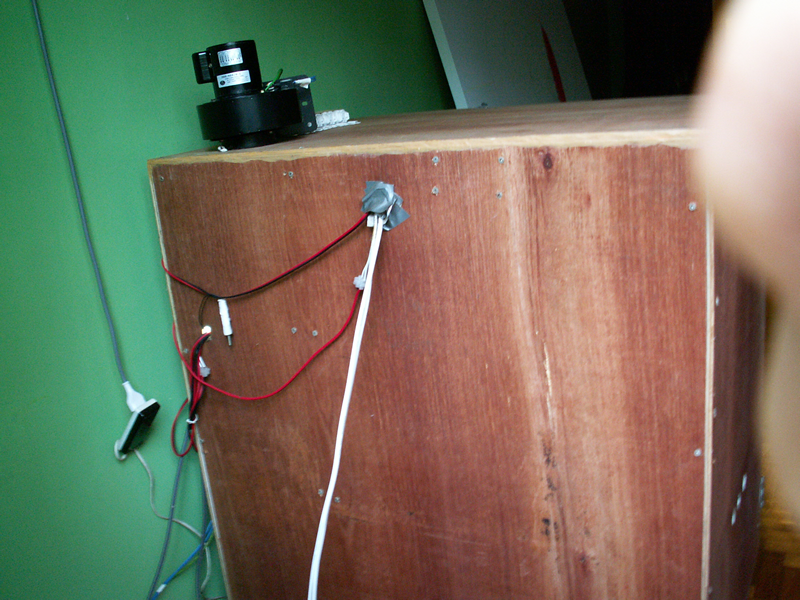
This over here, is my squirrel cage exhaust fan, this is what they use to extract chemical fumes in labs. One of the more pricier object for the whole grow box but I think it was worth it. Very powerful, something like 250 cfm? The white object taped up are my ballasts for my lights. The exhaust blows the air out onto the ballasts to keep it cooler as well.
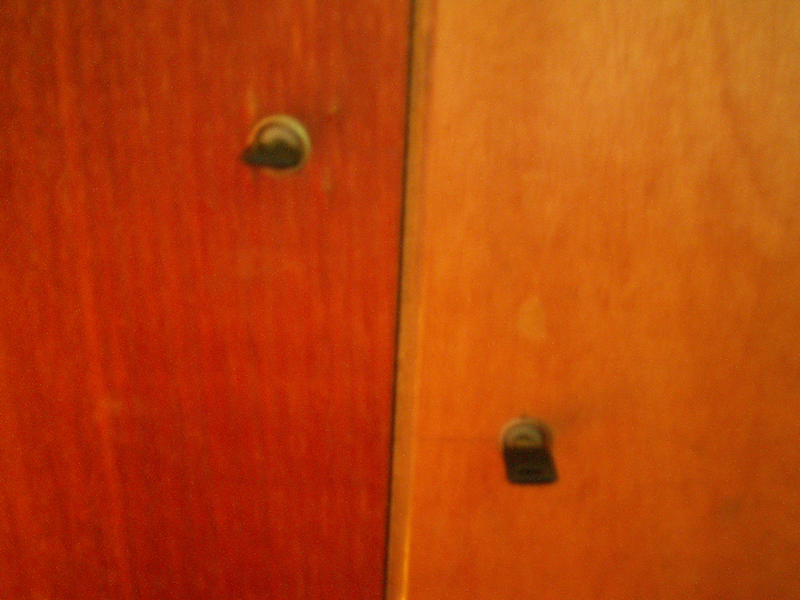
Just a picture of the hinges I use for my grow box, I have four altogether, top and bottom for both chamber doors.
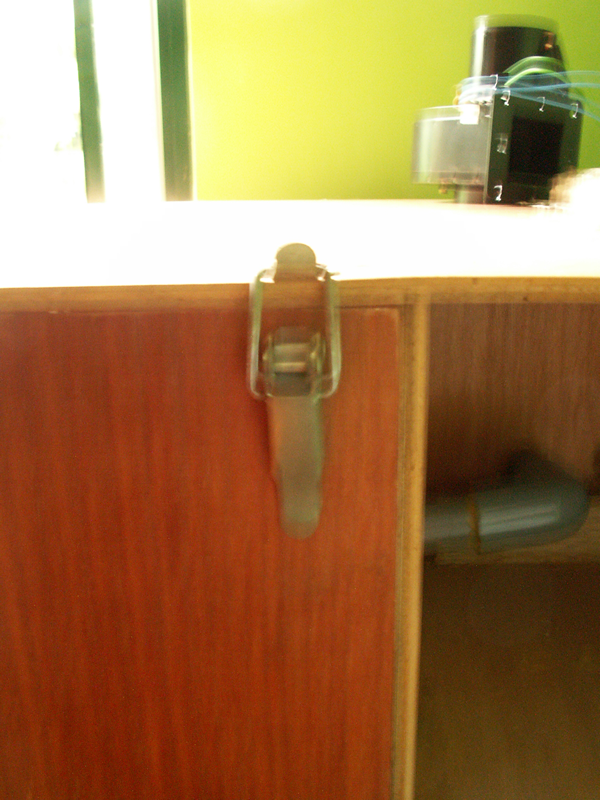
This are the locks I installed on the grow chamber doors. They proved to be tricky since I had to saw, drill, and file a hole to fit these locks in. But I want that extra security in case some moron decides to have a peek, lol.
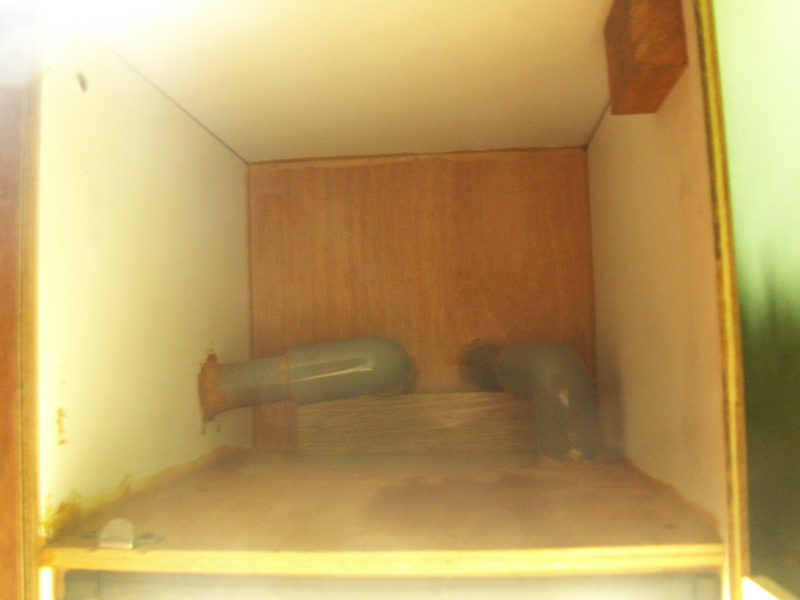
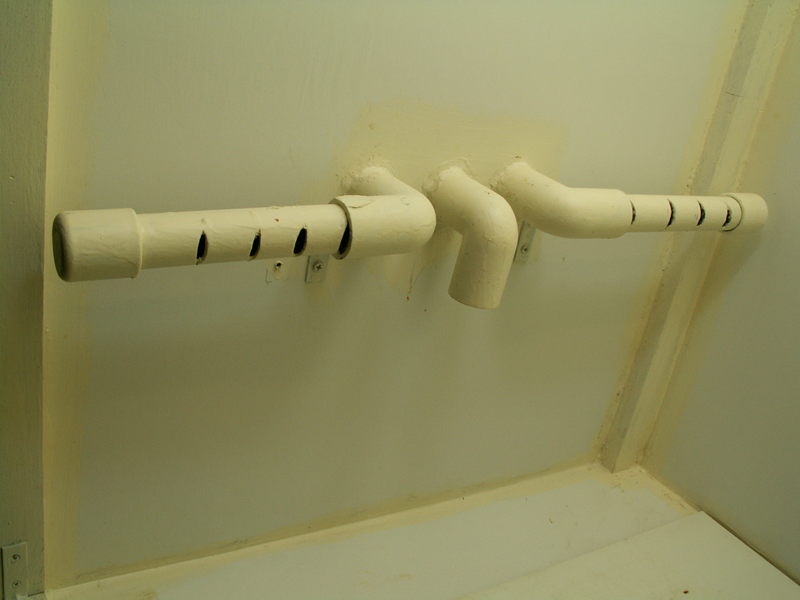
This is the top of the veg chamber I was talking about earlier, where I keep my fertz and stuff. The two pipes are my exhaust pipes. One comes from the flowering chamber and the other from the veg chamber. They both lead to a small area similar to what you see only its completely enclosed like a box with only a hole at the top where the exhaust fan pulls out the air from. I have two other exhaust pipes leading from the flowering and veg chamber that go directly to the exhaust box so you don't see it here.
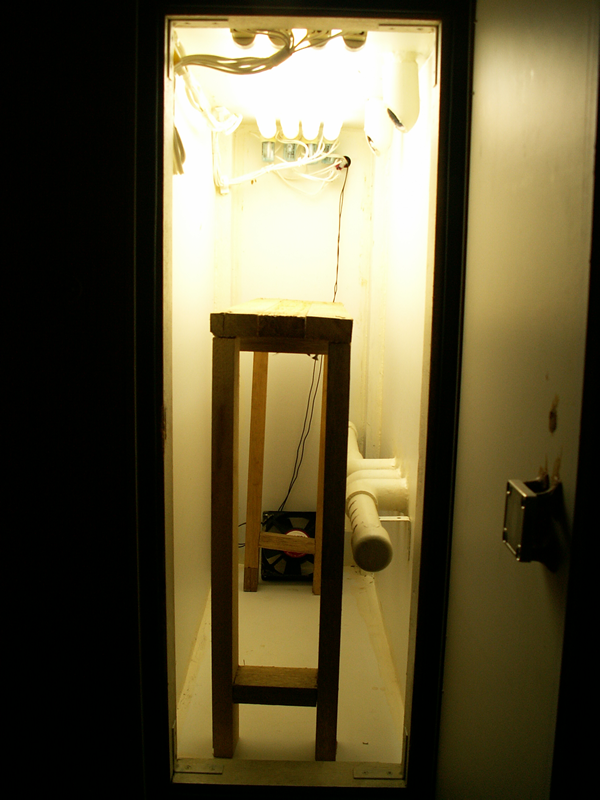
This is just the front view of my veg chamber. The stool you see there is to prop seedlings higher to the lights. I am currently using 4 30w floro tubes in my veg chamber. I have installed the lights so unassembly is relatively easy in case I decide to change my lighting system here.
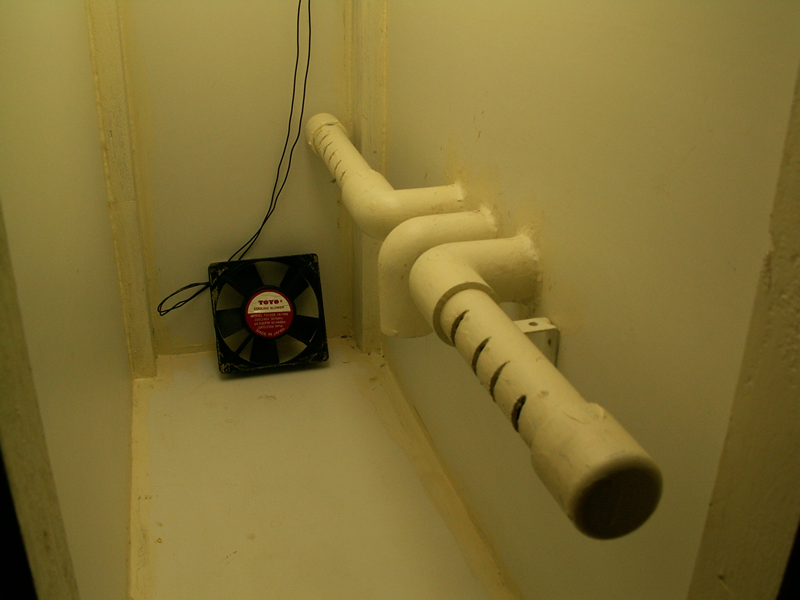
These 3 pipes are my passive intake for my veg chamber, totally light proof. The fan just sitting there is for extra circulation or to produce a breeze for the stems to grow stronger!
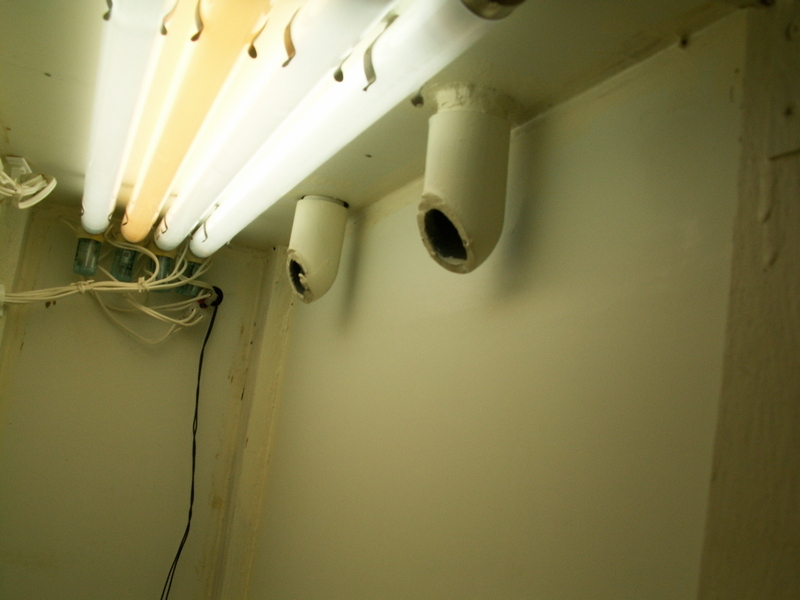
These are my exhaust pipes in my veg chamber. One of the lights seems dimmer huh? I shall need to get that fixed.
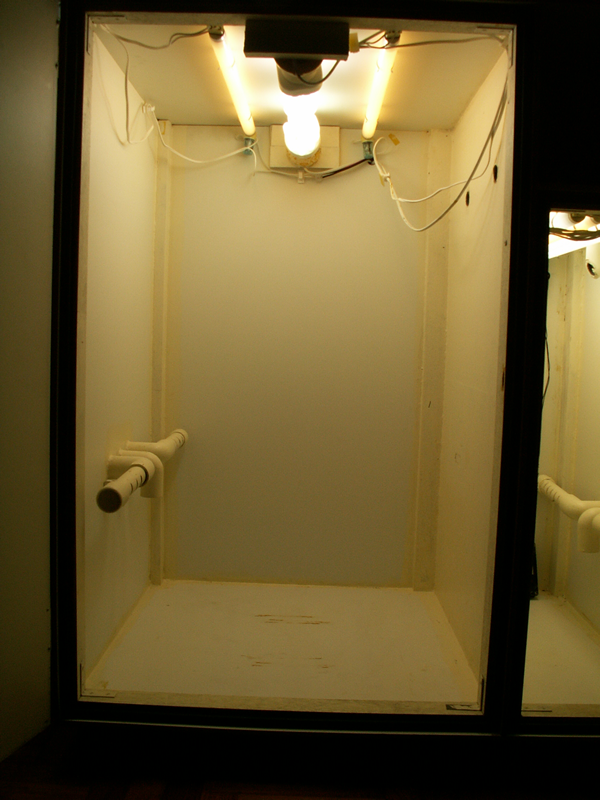
This is the main view of my flowering chamber. I intend to incorporate a SOG or ScrOG method once cloning has taken place. Once I've saved up enough money, I am taking off the floro lights and replacing it with a 250w HPS. It currently is 2 30w floro tubes and 2 50w bulbs.
This is my intake for my flowering room.
My exhaust for my flowering chamber.
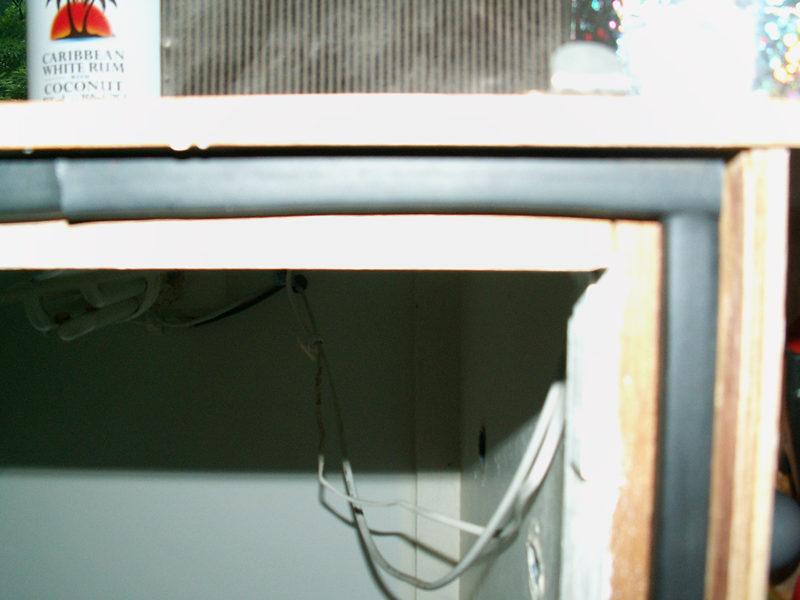
This black rubber tubing is what they use in fridges I think, to keep it air tight. Another reason I use it is to keep the light out as well, with this tube it keeps all the light inside with no chance of coming out. That's Malibu in the background, yum yum, lol.
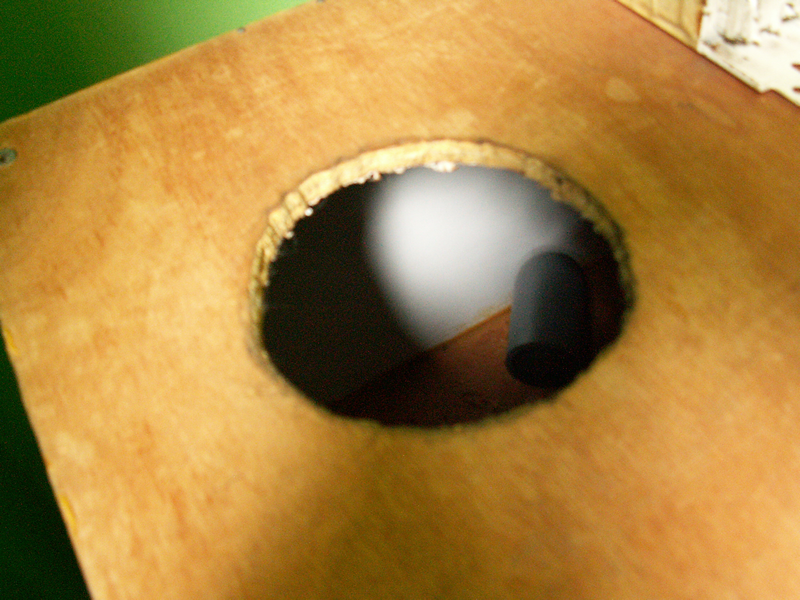
This is the hole where I place my exhaust fan on. It sucks out the air from the chamber I talked about earlier where the exhaust pipes lead to. The fan fits nicely into the hole.
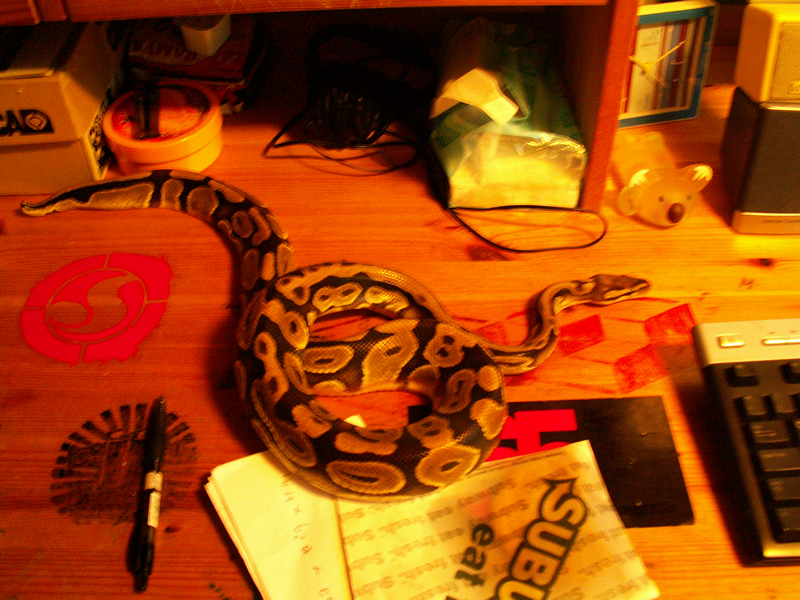
And this over here, is Pepsi, my High Gold Ball Python. Any comments/suggestions/criticism(good or bad) on the grow box is much welcome. I would like to know if there is anything I can improve on. Thanks for listening guys!!! Now I just need to grow some!!!
cilohahdduB Reviewed by cilohahdduB on . My First Ever DIY Grow Box So here I am. Finally, after more than a month of planning, searching, buying, building, spending over US$200, with all the joy and frustration that came along with it, I finally built a grow box of my own!!! This was no easy task, since I built everything from scratch excluding the lights, ballasts, and fans. But everything else I basically painstakingly siliconed/screwed/hammered/sawed together. But I must say, the joy of looking at the finished product is just euphoric. Knowing that you Rating: 5
-
01-20-2007, 08:53 PM#2
Senior Member
My First Ever DIY Grow Box
Your going yo have an awsome grow.. Just follow the basic guide lines.. I LOVE that snake, wow. Looking forward to your grow
 Im thinking people didnt check it out cause your post seemed to long and the pics were from links.. I think it looks great though
-
01-20-2007, 11:16 PM#3
Senior Member
My First Ever DIY Grow Box
very nice grow box! good luck with your grow keep us updated!!!!!!
[SIZE=\"6\"]Truth Happiness Cannabis[/SIZE]
-
01-21-2007, 07:46 PM#4
Member
My First Ever DIY Grow Box
Wow I wish I could do that, but I can't, looks very very nice!! & good luck with your grow.
-
01-22-2007, 02:21 PM#5
Senior Member
My First Ever DIY Grow Box
Great job.It gives you a real cents of pride.I know I'am carpenter and you have done a very good job on the planing and the build.I have been working on my cab plans for about a month now and started my build saturday.I have a wood shop in my garage.Carpentry has been my trade for 25 years, so building things is something I love doing.What I'am trying to do is make it look like a wardrobe.In a couple of days I'll post some pixs.But please let us know how your cab works out in the grow.Are you useing soil or hydro?My plan is to clone&seed in one side of the cab and veg in the other side.Then flower in the closet where I'am growing now.You have done great job on your cab.Keep up the good work. PEACE TO ALL
-
01-23-2007, 01:22 AM#6
Member
My First Ever DIY Grow Box
I will build another Cab in future so I had to draw a diagram.
Is this look ok? or something is missing?
-
01-26-2007, 01:41 AM#7
Senior Member
My First Ever DIY Grow Box
that is a crazy schimatic with all those arrows and such. Anyways, cilohahdduB I think that is a sweet grow box and you should have excellent results with it. It looks like you really put in the time to make it worth your while. After all there is no point in half assing it in the long run anyways.
I know the pride thing, me and my roommate built separate flowering and veg chambers entirely from scratch. We even made our own ebb and flow tray stand. Always remember, you can't grow faster than the plant so you might as well spend some decent time planning your next move.
-
01-26-2007, 02:22 AM#8
Senior Member
My First Ever DIY Grow Box
SPOT ON THAT MATE,
NICE-ONE
MARABLE
-
03-19-2007, 07:42 PM#9
Member
My First Ever DIY Grow Box
so... you gonna grow something in that thing?
-
03-19-2007, 08:10 PM#10
Senior Member
My First Ever DIY Grow Box
cool tube plus 250wtt hps would make all the diference in a cab like this

 Register To Reply
Advertisements
Similar Threads
-
LED grow NO.3, testing the Pro-Grow 260 and Rhino Seeds. Blue Treacle & AK47 AUTOS !
By silent leprechaun in forum Indoor GrowingReplies: 31Last Post: 07-08-2013, 11:00 AM -
Extremely homemade cardboard grow (Auto Cream Caramel) - 1st grow
By maxolahird in forum Indoor GrowingReplies: 5Last Post: 08-17-2012, 07:41 PM -
LEGAL Grow...first timers cfl grow bug and/or plant deficency *PICS* *NEED HELP ASAP*
By death2sukas in forum Plant ProblemsReplies: 6Last Post: 03-05-2010, 08:15 PM -
1 metre square grow room - scrog grow - advice needed
By doubledutch in forum Growroom SetupReplies: 15Last Post: 10-10-2008, 09:41 PM -
dj00140's Mandala Apartment GROW!! first grow! 14 days flowering lots of pics!!
By dj00140 in forum Grow LogReplies: 10Last Post: 07-22-2008, 01:44 PM

 Staff Online